Point of Sale (POS)
The SODOO Point of Sale (POS) module is a full-featured till solution for retail shops, restaurants, cafés, supermarket chains and service points. Modern web…
What You Will Learn in This Section
- Selling fast by using the POS interface effectively
- Configuring payment methods and taking split payments
- Table management and kitchen orders in restaurant mode
- Setting up a customer loyalty programme and points system
- Closing the till at the end of the day and producing the Z report
- Managing a multi-store and franchise structure
- e-Invoice and fiscal cash register (ÖKC) integration
- Setting up hardware connections (printer, barcode, scale)
Overview
The SODOO Point of Sale (POS) module is a full-featured till solution for retail shops, restaurants, cafés, supermarket chains and service points. Built with modern web technologies, the system lets you keep selling even during internet outages thanks to its ability to work offline.
Why SODOO POS?
Unlike traditional till software, SODOO POS works fully integrated with your ERP system:
- Real-time stock: Stock drops automatically at the moment of sale and is updated in all locations
- A single customer database: Online and offline customers in the same pool, a 360° view
- Integrated accounting: Every sale creates an accounting entry automatically
- Central management: Monitor and manage all shops from a single panel
Offline Mode
Sell without internet and synchronise automatically when the connection returns. All data is safe in LocalStorage.
Multiple Devices
Work smoothly on tablets, computers or touchscreens. The responsive design fits every screen.
Restaurant Mode
Full restaurant support with table management, kitchen printer, order notes and bill splitting.
Real-Time Stock
Instant integration with the inventory module, automatic stock deduction. Negative stock warning and control.
Loyalty Programme
Earning points, coupon and promotion management. Personalised offers with customer segmentation.
e-Invoice / ÖKC
Compliant with Turkish e-invoice and fiscal cash register regulations. Legal documents through the GİB integration.
Retail vs Restaurant Compared
Retail Mode
- Selling with fast barcode scanning
- Product access by category
- Standard discounts and promotions
- Printing receipts/invoices
- Stock counts and transfers
- Gift cards and coupons
Restaurant Mode
- A visual table layout
- Order notes (less salt, extra sauce)
- Kitchen / bar printers
- Bill splitting (per person)
- Moving / merging tables
- Service charge and tips
A Typical Sales Flow
Scenario: Make Your First Sale
Situation: As a new cashier you are starting the morning shift. You need to open the till and make your first sale.
- Go to the POS → Dashboard and find your till
- Click the New Session button
- Enter the cash amount in the opening float (e.g. 500 TL)
- When the first customer comes, scan the products with the barcode reader
- If the basket is right, press the Payment button
- Choose the customer's payment method (cash/card)
- If cash, enter the amount received and see the change
- Complete the sale with Validate; the receipt is printed automatically
The POS Interface
A modern, user-friendly interface optimised for fast selling. It offers large buttons and a clear view for comfortable use on touchscreens.
The SODOO POS main sales screen - product catalogue, basket and payment buttons
Interface Sections
| Section | Location | Description |
|---|---|---|
| Top bar | Top of the screen | Cashier name, session details, main menu, search and exit buttons |
| Product catalogue | Left/centre area | Product buttons arranged by category, product images |
| Category bar | Above the catalogue | Horizontal tabs for switching categories quickly |
| Basket | Right panel | Selected products, quantities, prices and the total amount |
| Numpad | Below the basket | A numeric keypad for entering quantities and prices |
| Action buttons | Bottom | Payment, Discount, Customer, Cancel, Hold buttons |
Quick Operations
- Barcode scanning: Add quickly by scanning the product barcode - the barcode reader must have focus
- Search: Type the product name, code or barcode in the search box in the top bar
- Favourite products: Show the best sellers in the first category
- Changing quantity: Click the product in the basket and enter the new quantity with the numpad
- Deleting a line: The bin icon on the basket line
- Line discount: Click the line and the
%orDiscbutton - Adding a note: Click the line and add a customer note (in a restaurant: "less salt")
Basket Operations
| Action | How To |
|---|---|
| Increase quantity | Click the line → enter a number on the numpad or press the + button |
| Decrease quantity | Click the line → press the - button or enter a new quantity on the numpad |
| Change price | Click the line → Price button → enter the new price (permission required) |
| Apply discount | Click the line → % button → enter the discount rate |
| Clear the basket | Press the New Order or Cancel button |
| Hold the order | Hold button → give it a name → continue later |
Held Orders
If a customer wants to step away while shopping, or another operation is needed before payment, you can hold the order:
- With items in the basket, click the Hold button
- Give the order a name (e.g. "Mr Mehmet - black shirt")
- When the customer returns, choose the held order from the Orders button
- The basket loads automatically; continue the sale
Payment Methods
Give customers flexibility by configuring different payment methods. SODOO POS supports several payment methods in a single transaction.
Supported Payment Types
Cash
Change calculation, till counting, cash in/out tracking. Turkish lira and foreign currency support.
Credit/Debit Card
POS terminal integration, instalment options, contactless (NFC) payment support.
Mobile Payment
Payment by QR code, digital wallet integration (Google Pay, Apple Pay).
Gift Card
Store gift cards, balance checks and partial use support.
Customer Account
Sales on credit, deduction from the customer balance, credit limit control.
Coupon/Promotion
Discount coupons, campaign codes, using loyalty points.
Split Payment
You can collect a single order with more than one payment method. This is especially useful for customers who come as a group.
Scenario: Taking an 800 TL Bill Split
Situation: The customer wants to pay 300 TL of the 800 TL bill in cash and the rest by credit card.
- With the basket total showing 800 TL, press the Payment button
- Click the Cash option on the payment screen
- Type
300on the numpad and confirm - The remaining 500 TL is shown → click the Card option
- When the POS terminal approves the transaction, press Validate
- The receipt is printed and both payment methods appear on it
Change Calculation
When you enter the amount received from the customer in a cash payment, the system calculates the change automatically:
| Bill Amount | Received | Change |
|---|---|---|
| 147.50 TL | 150.00 TL | 2.50 TL |
| 147.50 TL | 200.00 TL | 52.50 TL |
Refunds
To make a refund after a sale:
- Open the Refunds option from the main menu
- Find the order to refund by receipt number or date
- Choose the products to refund (all or some)
- State the reason for the refund
- Process the refund amount as cash or a refund to the card
Product Management
Configure the products to sell in the POS, split them into categories and make them easy to reach on the sales screen.
Product Visibility in the POS
For a product to be sold in the POS:
- Open the product from the Inventory → Products menu
- Go to the Sales tab
- Tick the Available in POS box
- Choose a suitable POS Category
- Add a product image (for quick recognition)
- Save
POS Categories
POS categories define the product groups on the sales screen. They are independent of inventory categories:
- Parent categories: Shown in the main tabs (Drinks, Food, Clothing)
- Sub-categories: Grouping inside (Hot Drinks, Cold Drinks)
- Ordering: Set the order by giving categories a sequence number
- Image: Add an icon or image to each category
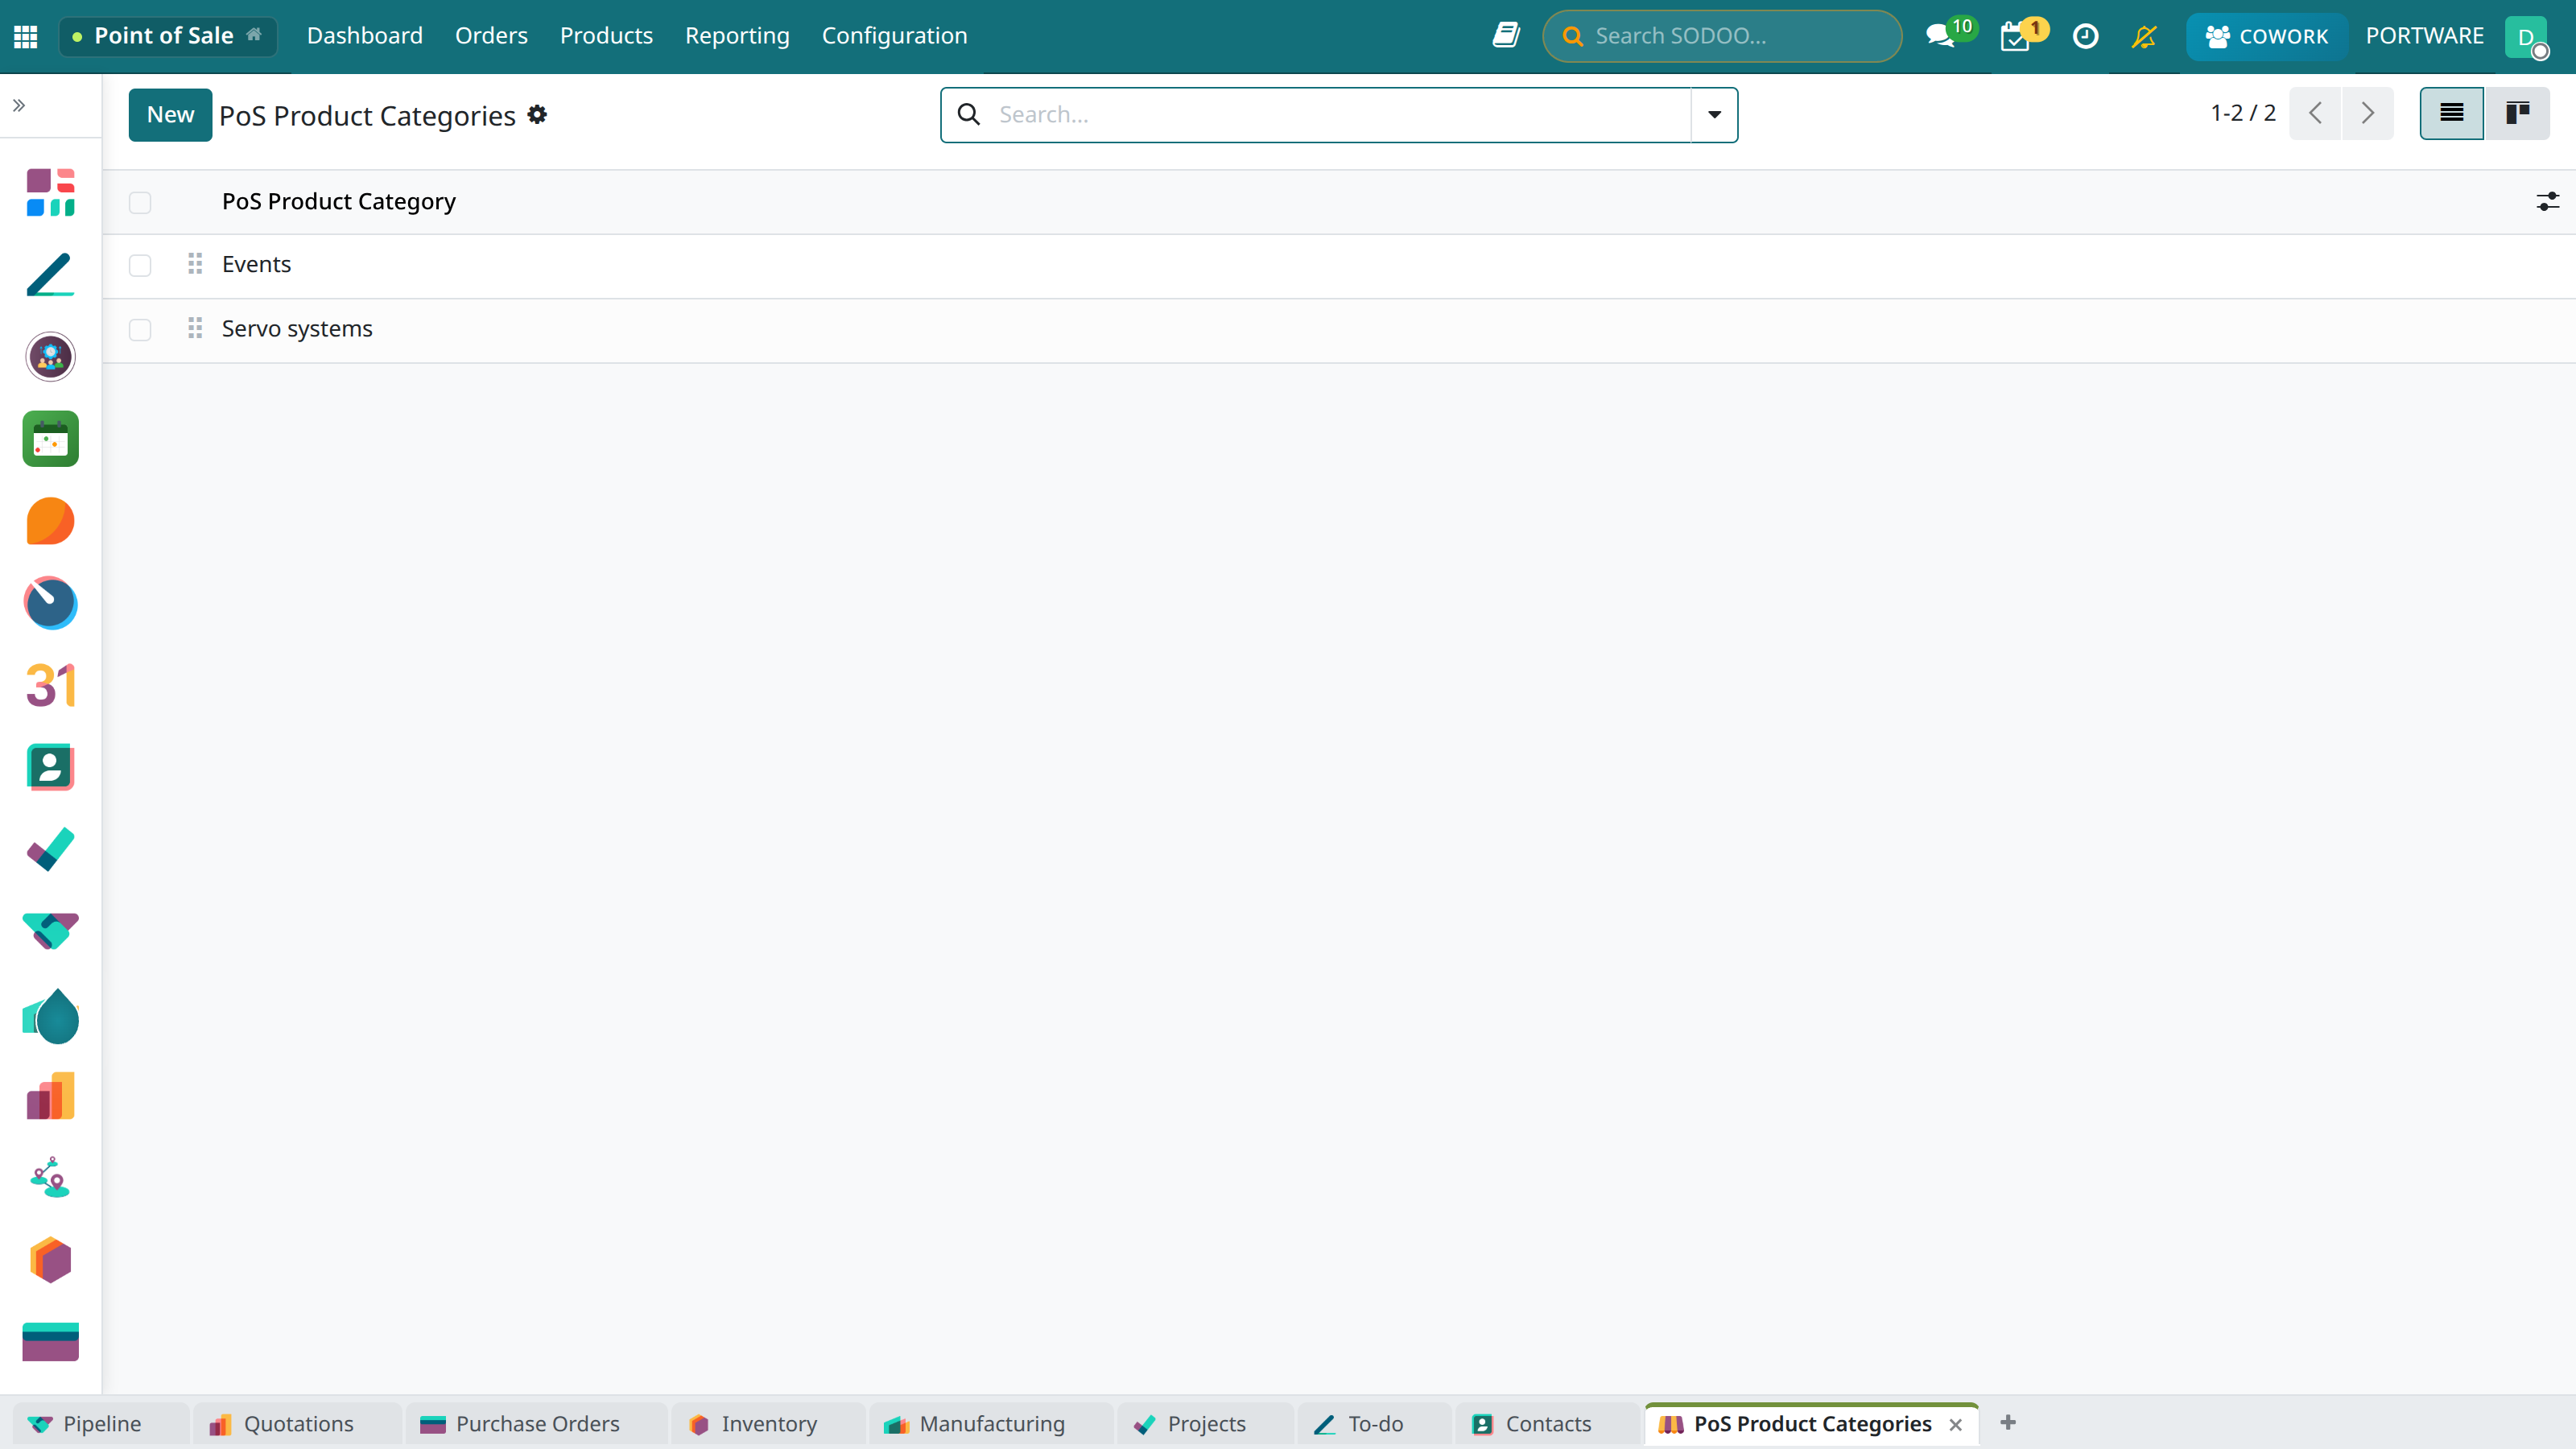
POS category configuration - grouping products on the sales screen
Variants and Options
Product variants (size, colour, dimension) are easy to choose in the POS:
- Clothing: Size (S, M, L, XL, XXL), Colour (Black, White, Blue)
- Shoes: Size (38, 39, 40...), Model type
- Food: Portion (Small, Medium, Large), Cooking (Rare, Medium, Well done)
- Drinks: Size (Tall, Grande, Venti), Extras (Extra shot)
Combo Products (Bundles)
Combo selling for menus or bundled products:
- Example: "Hamburger Menu" = Hamburger + Fries + Drink
- When the main product is chosen, the components are added to the basket automatically
- The bundle price is calculated separately (it can differ from the total component price)
- Stock is tracked separately for every component
Barcode Management
| Barcode Type | Format | Use |
|---|---|---|
| EAN-13 | 13 digits | Standard retail products |
| EAN-8 | 8 digits | Small products |
| UPC-A | 12 digits | US/Canada products |
| Internal | Custom format | Weighed products, promotion codes |
Weighed Product Barcodes
The weighed product barcode structure for supermarkets and delis:
- Prefix: The first 2 digits (e.g. 21 = weighed product)
- Product code: The next 5 digits
- Weight/Price: The last 5 digits (grams or kuruş)
- Check: Check digit
Customer Management
Choose a customer during the sale to benefit from the loyalty programme, credit tracking and detailed reporting.
Choosing a Customer at the Sale
- Click the Customer button on the sales screen
- The customer list opens - use the search box
- Search by name, phone or e-mail
- Choose the customer or register them with Create
- Once the customer is chosen, their name appears in the basket
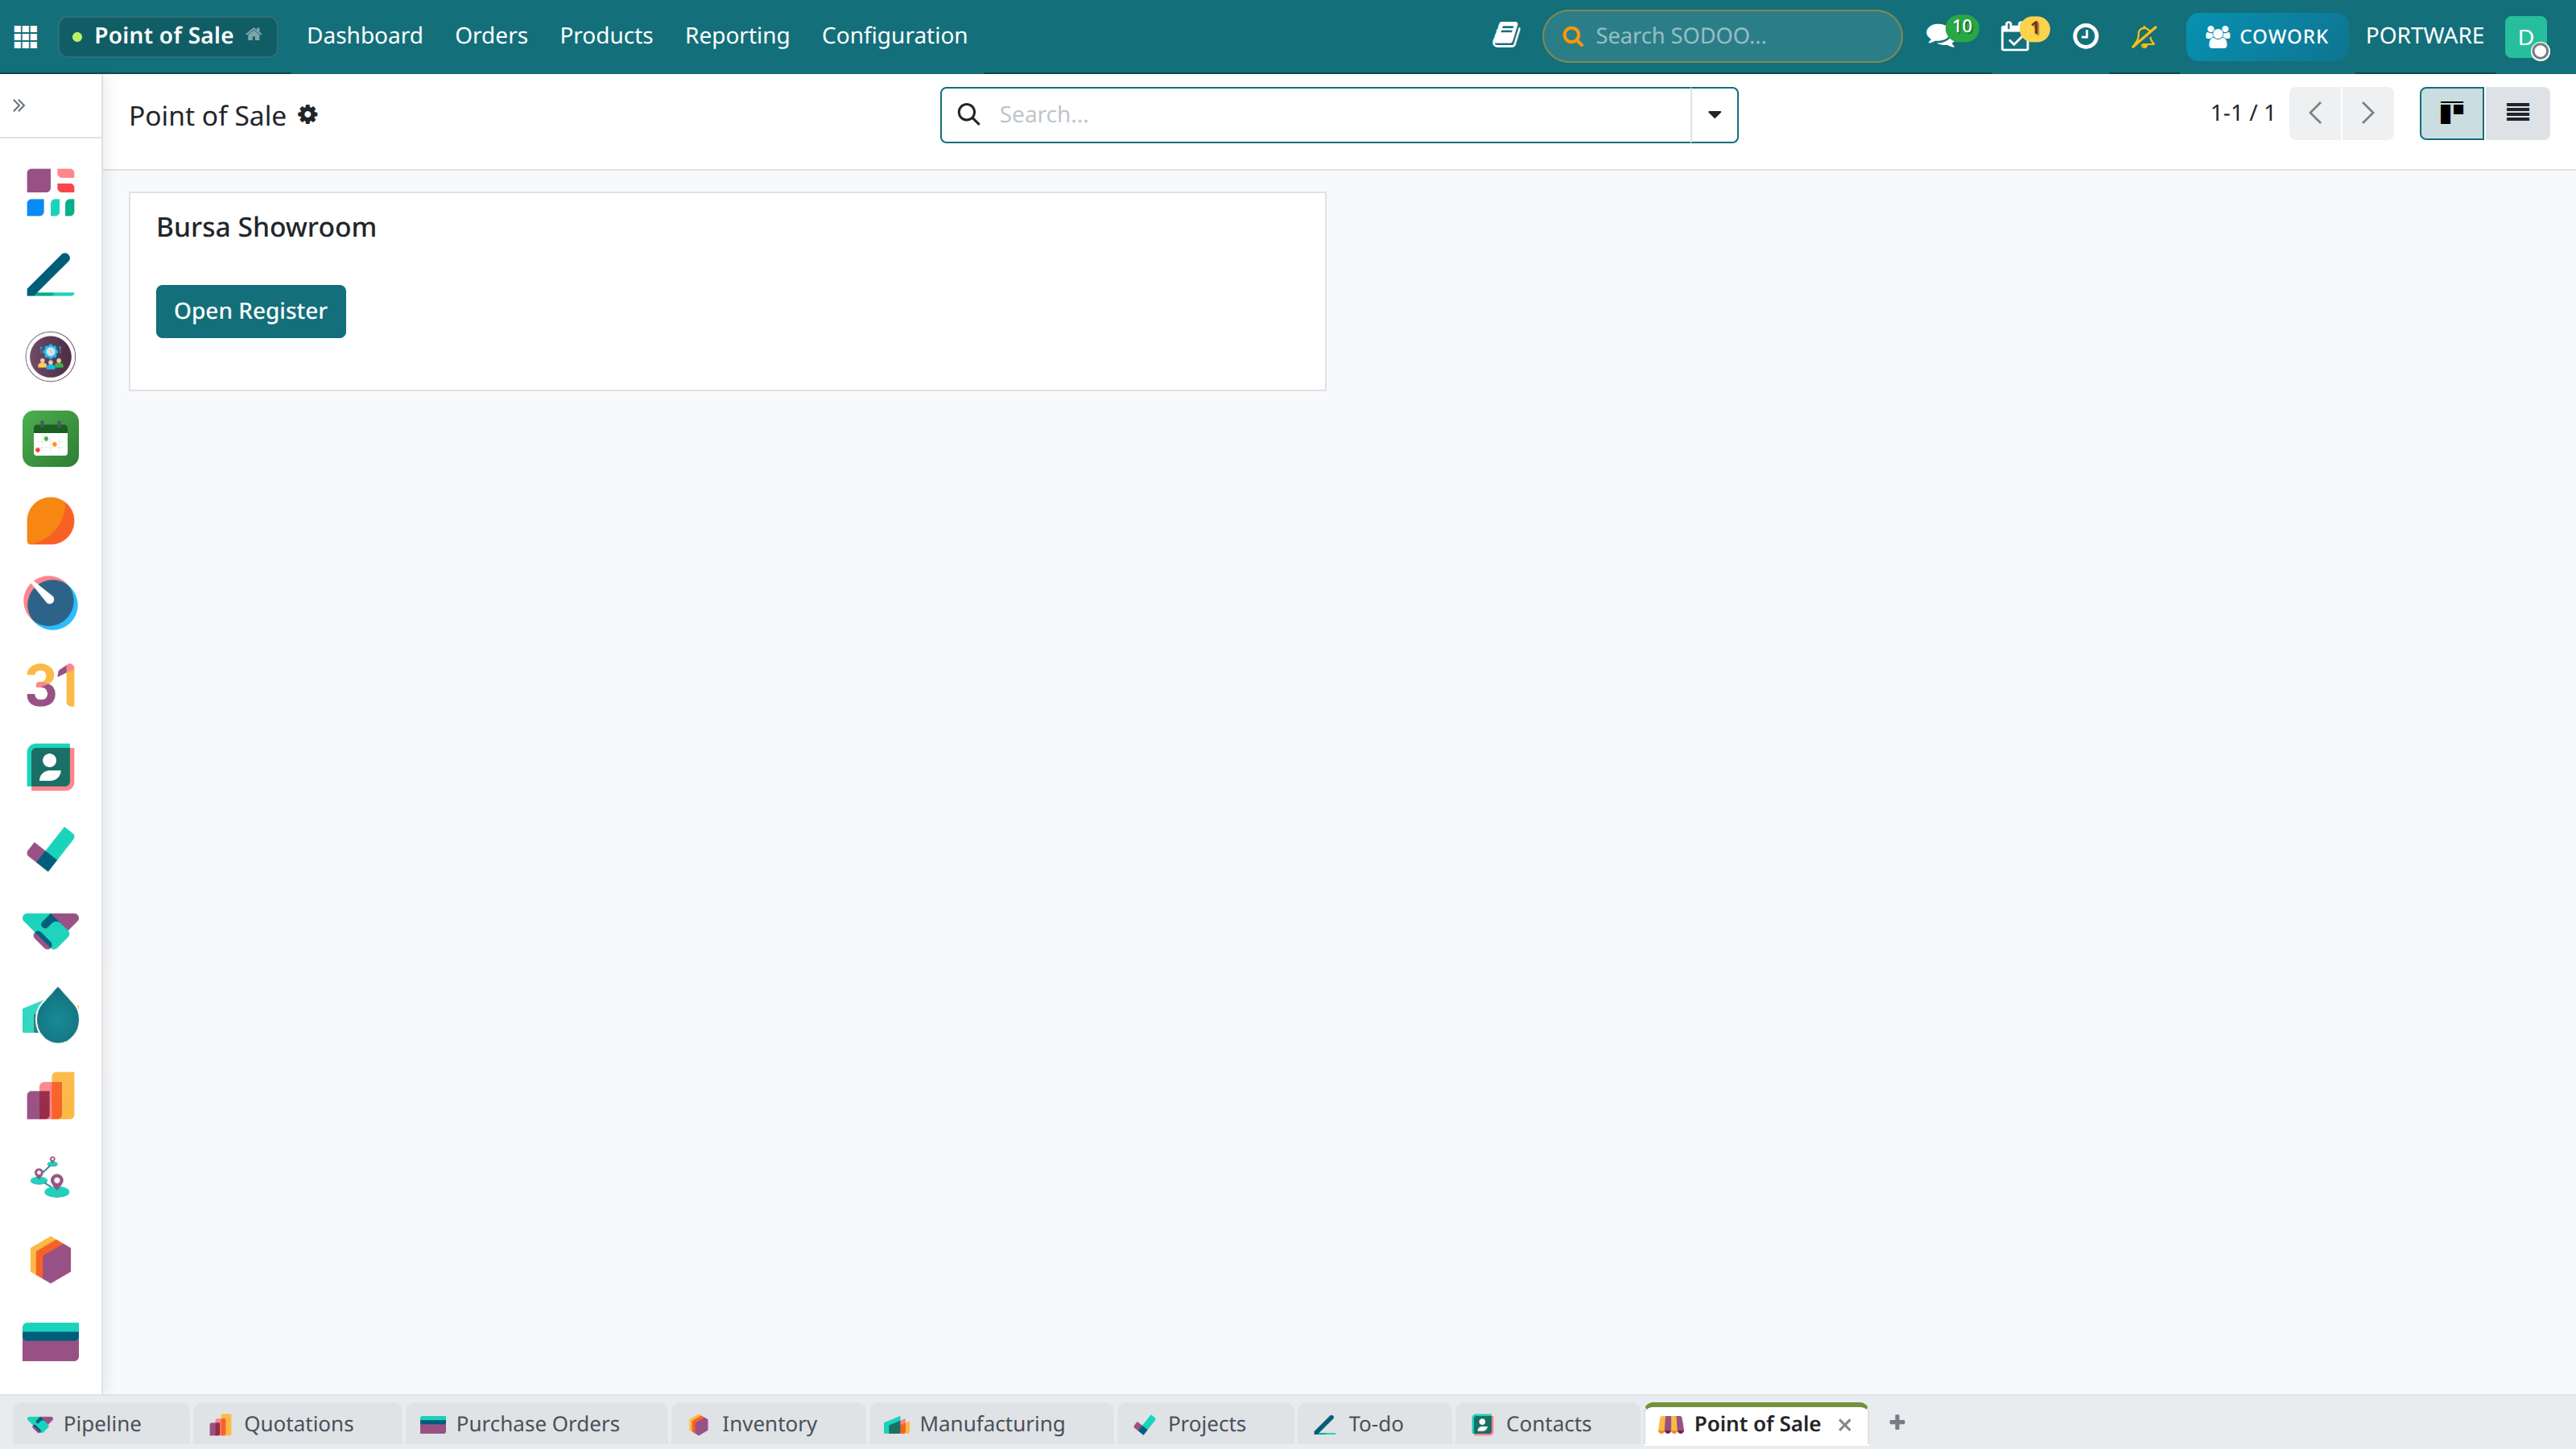
A POS till record - customer and sales operations
Quick Customer Registration from the POS
A quick registration with the minimum details for a new customer:
- Required: Name
- Recommended: Phone number (for later searches)
- Optional: E-mail, address, tax details
Loyalty Programme
Increase repeat sales with a customer loyalty programme:
Earning Points
- X points per 1 TL spent (e.g. 10 TL = 1 point)
- Extra points in special categories (clothing: 2x points)
- Bonus points in the birthday month
- Points for referrals
Using Points
- X points = 1 TL discount (e.g. 100 points = 10 TL)
- Special rewards (e.g. 500 points = a free product)
- Partial or full use of points
- A minimum spend can be required
Membership Levels
| Level | Condition | Advantages |
|---|---|---|
| 🥉 Bronze | 0 - 999 points | Standard point earning |
| 🥈 Silver | 1,000 - 4,999 points | 10% extra points, special campaigns |
| 🥇 Gold | 5,000+ points | 25% extra points, priority service, free shipping |
Sales on Credit (Customer Account)
The option of selling on credit to trusted customers:
- Set a Credit Limit on the customer record
- Choose the Customer Account payment method during the sale
- The limit is checked automatically
- The debt is tracked as a customer statement
- The account is updated when a collection is made
Session Management
Keep till control by opening a separate session for each shift. Track cashier performance with session-based reporting.
Opening a Session
- Go to the POS → Dashboard
- Find the till you want to open
- Click the New Session button
- Enter the opening cash amount in the till (carried over)
- Confirm the amount - the session starts
- The sales screen opens; you are ready to sell
Cash Operations During the Day
Record non-sale cash movements:
Cash In (Put Money In)
- Adding money to the till for small change
- An advance received from the manager
- A transfer from another till
Cash Out (Take Money Out)
- Taking money from the till for a bank deposit
- Expense payments (groceries, courier etc.)
- Reducing excess cash for security
Closing the Session (End of Day)
End-of-day / opening check - cash count and difference check
- Make sure all sales are completed
- If there are held orders, complete or cancel them
- Click the Close Session button
- Count the till:
- Cash: Enter the physical count amount
- Card: Enter the terminal total
- Other: A count for each payment method
- The system shows the expected vs counted difference
- If there is a difference, write an explanation
- Validate and Close the Session
Till Differences
| State | Meaning | Possible Causes |
|---|---|---|
| Difference = 0 | Excellent | All transactions were recorded correctly |
| Over (+) | Extra money in the till | Too little change given, an unrecorded sale |
| Short (-) | Money missing from the till | Wrong change, counting error, theft |
Restaurant Mode
Special features for restaurants, cafés, bars and food outlets. A full restaurant experience with table management, kitchen orders and bill splitting.
Restaurant Mode Features
Table Management
A visual floor plan, table states (free/occupied/reserved), capacity tracking.
Kitchen Printer
Orders go to different printers by category (kitchen, bar, desserts).
Bill Splitting
Payment per person, splitting by product, equal sharing.
Order Notes
Cooking preference, allergy warning and special request notes are passed to the kitchen.
Floor Plan and Tables
Build your venue's real layout in the POS:
- POS → Configuration → Floor Plans
- Create a new plan with New (e.g. Indoor, Garden)
- Place the tables by drag and drop
- Give each table a number, capacity and shape
- Save - the floor plan appears in the POS
Table States
| Colour | State | Meaning |
|---|---|---|
| Green | Free | Available, customers can be seated |
| Orange | Occupied | There is an active order, the bill is open |
| Purple | Awaiting Payment | The bill has been requested, payment pending |
| Grey | Reserved | There is a reservation for a later time |
The Order-Taking Flow
Scenario: An Order for a Table of 4
Situation: A group of 4 sat at Table 5. Each will order a different dish and they will share the bill.
- Click Table 5 on the floor plan
- A new order opens - enter
4as the number of guests - Take the first guest's order:
- Choose the product → add a note: "Less salt"
- The Guest 1 label is added automatically
- Switch to Guest 2 with Change Guest
- Take the orders of all guests
- Send the order with Send to Kitchen
- Serve the dishes at the table when they are ready
- When the bill is requested, press Payment
- Split per person or by product with the Split option
- Each guest pays their own share
Kitchen Printer Categories
Route orders to the right station:
- Main kitchen: Hot dishes, main courses
- Cold kitchen: Salads, starters
- Bar: Drinks, cocktails
- Dessert station: Desserts, cakes
Bill Splitting Options
| Method | Description | Use |
|---|---|---|
| By Guest | Each guest pays for their own products | If orders were assigned to guests |
| Equal Split | The total is divided by the number of people | For shared dishes |
| By Choosing Products | The products to be paid for are chosen | "I'll just pay for my drink" |
| By Entering Amounts | Everyone enters the amount they want | Flexible sharing |
Moving and Merging Tables
- Table transfer: Moving an open order to another table (the guest wanted to change seats)
- Table merge: Combining two tables' bills into one bill (groups joined)
- Table split: Splitting the bill of a single table
Multi-Store Management
Manage several branches, franchises or a chain of stores from one centre. Each location can have its own till, stock and reports.
Store Structure
- Company: The main holding or firm (PORTWARE)
- Branch/Store: Physical locations (Kadıköy, Beşiktaş, Ankara)
- POS (Till): The till points in each store (Till 1, Till 2)
- Warehouse: Store stock or the central warehouse
Central Management Features
Central Product Catalogue
Products are defined centrally and distributed to all stores. Prices can differ per store.
Stock Transfer
Stock transfers between stores, distribution from the central warehouse, automatic order suggestions.
Consolidated Reports
See all stores' sales in a single report. Comparative performance analysis.
Permission Management
Regional manager, store manager and cashier levels. Store-based access control.
Store Price Lists
The same product can be sold at different prices in different stores:
- Shopping-mall store: 20% more expensive (high rent)
- Outlet store: 30% off
- Online store: Standard price
Franchise Structure
A special configuration for franchise owners:
- The franchise owner sees their own store's reports
- Head office sets the franchise products and prices
- Royalty and fee calculations are automatic
- Central campaigns apply in all franchises
Reports and Analyses
Monitor sales performance, analyse trends and make data-driven decisions.
Key Reports
Sales Report
Daily, weekly, monthly sales summaries. Turnover, quantity, average basket value.
Cashier Report
Sales performance per cashier, number of transactions, average transaction time.
Product Report
Best-selling products, analysis by category, profitability analysis.
Payment Report
Distribution by payment method, cash/card ratio, daily collections.
Hourly Analysis
Peak hours, weekday/weekend comparison, data for staff planning.
Customer Report
Returning customers, average spend, loyalty programme metrics.
Z Report (End of Day)
The Z Report created automatically each time a session is closed:
- Sales summary: Total sales amount, number of transactions, cancelled sales
- Payment breakdown: Cash, card, other methods
- Discounts: Total discounts applied, coupon use
- Tax breakdown: VAT and other taxes
- Cash movements: In, out, carried over
- Till count: Expected vs counted, difference
Special Reports
| Report | Purpose | Period |
|---|---|---|
| ABC Analysis | Classifying products by sales volume | Monthly |
| Basket Analysis | Product combinations sold together | Monthly |
| Lost Sales | Sales missed because of being out of stock | Weekly |
| Store Comparison | Performance across branches | Weekly |
e-Invoice and e-Archive
Issuing electronic documents in line with Turkish legal regulations. e-Invoice, e-Archive and ÖKC support with the GİB integration.
Document Types
| Document | Customer Type | Description |
|---|---|---|
| e-Invoice | Registered for e-invoicing | Electronic invoices to corporate customers |
| e-Archive Invoice | Individual / not registered for e-invoicing | Individual customers or companies not on e-invoicing |
| e-Archive Receipt | End consumer | Retail sales under 5,000 TL |
| ÖKC Receipt | End consumer | A receipt from the fiscal cash register |
Issuing e-Documents from the POS
- Choose the Customer during the sale (with a registered tax/ID number)
- When payment is complete, the system decides the document type from the customer type
- If the customer is registered for e-invoicing, an e-Invoice is sent automatically
- In other cases an e-Archive Invoice or Receipt is issued
- The document is sent to the customer by e-mail or SMS
ÖKC Integration
Fiscal cash register (ÖKC) integration:
- The POS sale is passed to the ÖKC automatically
- The fiscal receipt is printed from the ÖKC
- The Z report is taken from the ÖKC
- Automatic data transfer to the GİB
Fiscal Settings
- Tax office: The company's tax office
- VKN: Tax identification number
- Mersis No: MERSİS number
- e-Invoice scenario: Basic/Commercial invoice scenario
- Series number: e-Archive document series
Hardware Integration
Create a professional till experience by configuring the POS hardware. SODOO supports various hardware types.
Opening the POS till - hardware connections and starting a session
Supported Hardware
| Hardware | Connection | Use | Recommended Brand |
|---|---|---|---|
| Receipt Printer | USB, Network, Bluetooth | Sales receipt, kitchen order | Epson, Star, Bixolon |
| Barcode Reader | USB, Bluetooth | Reading product barcodes | Honeywell, Zebra, Datalogic |
| Cash Drawer | Printer RJ11 | Storing cash, automatic opening | APG, MMF, Safescan |
| Customer Display | USB, HDMI, Serial | Showing the basket and total | Posiflex, Epson |
| Electronic Scale | USB, RS232 | Selling weighed products | CAS, Mettler Toledo |
| POS Terminal | Ethernet, USB | Card payments | Ingenico, Verifone |
Setting Up a Receipt Printer
- Connect the printer by USB or to the network
- POS → Configuration → Printers
- Add a printer with New
- Choose the connection type (USB/Network)
- Enter the IP address for a network printer
- Check with a test print
- Assign the printer in the POS configuration
IoT Box
The SODOO IoT Box lets you manage all hardware centrally:
- A Raspberry Pi-based mini computer
- Multiple device connection (USB hub)
- Sharing over the network (several POS can use it)
- Automatic device recognition (plug & play)
- Remote management and updates
Hardware Connection Diagram
Keyboard Shortcuts
Learn the keyboard shortcuts for fast operation. They are especially useful when working without a barcode reader.
POS store selection - multi-store management and till selection
General Shortcuts
| Shortcut | Action |
|---|---|
| Enter | Confirm the selection / go to payment |
| Esc | Cancel / go back |
| F1 | Help menu |
| F2 | Choose customer |
| F3 | Search product |
| F4 | Payment screen |
Basket Shortcuts
| Shortcut | Action |
|---|---|
| + | Increase the selected product's quantity |
| - | Decrease the selected product's quantity |
| Delete | Delete the selected line |
| ↑ ↓ | Move between basket lines |
| Ctrl + D | Apply discount |
| Ctrl + N | Add a note |
Payment Shortcuts
| Shortcut | Action |
|---|---|
| C | Choose cash payment |
| B | Choose bank card |
| V | Validate the payment |
| Backspace | Delete the last entry |
Configuration
Customise the POS module for your business. Different settings can be defined for each till.
Creating a POS
- POS → Configuration → Points of Sale
- Click the New button
- Enter the till name (e.g. "Kadıköy Store - Till 1")
- Configure the related settings
- Save
Basic Settings
| Setting | Description |
|---|---|
| Payment Methods | The payment types to use at this till |
| Pricelist | The sales pricelist to apply |
| Warehouse | The warehouse to deduct stock from |
| Receipt Printer | The printer to print sales receipts on |
| Company | Which company it belongs to in a multi-company setup |
Sales Options
- Barcode reader: On/Off
- Category display: Tabs or list
- Price change: Allow the cashier to change prices
- Discount limit: Maximum discount rate (%)
- Multiple salespeople: Choosing a salesperson for each sale
- Opening float: Asking for cash when opening a session
Restaurant Settings
- Restaurant mode: Enable table management
- Floor plan: The table layout to use
- Tips: The option to add a tip
- Bill splitting: The option of paying per person
- Kitchen printers: Category-to-printer mapping
User Permissions
| Permission | Cashier | Manager |
|---|---|---|
| Selling | ✅ | ✅ |
| Refunds | ❌ | ✅ |
| Changing prices | ❌ | ✅ |
| 20%+ discount | ❌ | ✅ |
| Closing the session | ❌ | ✅ |
| Cash out | ❌ | ✅ |
Frequently Asked Questions (FAQ)
Can I sell when the internet goes down?
Yes, SODOO POS can work in offline mode. Sales are saved locally and synchronised automatically when the internet connection returns.
- Product and price information is downloaded in advance
- Sales are stored in LocalStorage
- Background synchronisation when the connection returns
- A warning is given in case of a conflict
The receipt printer is not working; what should I do?
Try these steps to fix printer problems:
- Check that the printer is on and connected
- Check whether there is paper
- Unplug the USB connection and plug it back in
- If it is a network printer, ping its IP address
- Check that the printer is selected in the POS settings
- If you use an IoT Box, restart it
Can I make a refund from a closed session?
Yes, a refund can be made from a closed session:
- Open a new session
- Find the order to refund from the Refunds menu
- Search by receipt number or date
- Choose the products to refund
- State the reason for the refund
- The amount is refunded in cash or to the card
Note: A refund usually requires manager approval.
How do I apply a discount to the whole basket?
For a basket-wide discount:
- With items in the basket, click the Discount button
- Choose the discount type: Percentage (%) or Amount (TL)
- Enter the value (e.g. 10% or 50 TL)
- Confirm - the discount is applied to the whole basket
For a discount on a single line: select the line → apply a line discount.
Can more than one cashier use the same till?
Yes, the same POS can be used by more than one cashier:
- Each cashier logs in with their own user account
- The cashier can be changed while the session is open
- Sales are reported per cashier
- Quick cashier change with a PIN code
Recommendation: closing the session and opening a new one at a shift change is safer.
There is a till difference; what should I do?
When there is a till difference:
- Count again (it may be a counting error)
- Check the cash in/out movements of the day
- Review the cancelled sales
- Consider whether change may have been given wrongly
- Record the difference with an explanation
If differences keep occurring: review camera footage and talk to the cashiers.
How do I sell a product without a barcode?
Several ways to sell a product without a barcode:
- Search: Search by product name and select it
- Category: Find the product in the related category
- Internal barcode: Assign an in-store barcode to the product
- Generic product: Define a "Miscellaneous Product" and enter the price
Can I use it on a tablet?
Yes, SODOO POS works smoothly on tablets and mobile devices:
- Fully compatible with iPad and Android tablets
- An interface optimised for touchscreens
- Chrome or Safari browser recommended
- Bluetooth printer and barcode reader support
Recommendation: a minimum 10" screen, and a mesh network for a stable WiFi connection.
- Inventory & Warehouse Management - POS stock integration
- Sales & CRM - Customer and sales management
- Accounting - POS accounting integration
- Turkish Localisation - e-Invoice and ÖKC